Hearts and Stripes Forever
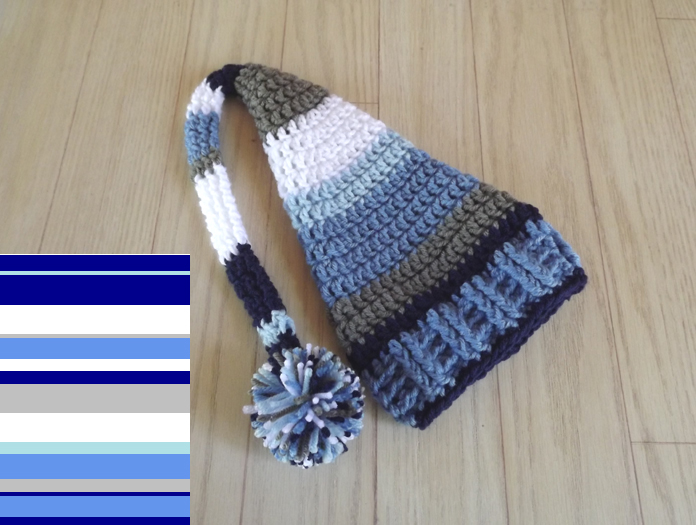
 It is really just a basic beanie...I usually use ww yarn and a 5.0mm hook.
by Christina Ramirez
yarnovercrochet@hotmail.com
I changed yarn colors every other row and just carried it.
Basic Beanie Recipe
Start with 10dc in a loop and pull tight. * If you would like a more fitted beanie I would only work 9dc.
Baby 0-3 months
Finished measurement 14”
In an adjustable ring, ch 2, 10dc and pull to tighten ring
Round 1 Ch 2, 2 dc in each st around (20dc)
Round 2 Ch 2, *dc in next dc, dcinc in next dc* repeat in each st around (30 dc)
Round 3 Ch 2, *dc in next 2 dc, dcinc in next dc* repeat in each st around (40 dc)
*See Below
Baby 3-6 months
Finished measurement 15.5”
In an adjustable ring, ch 2, 10dc and pull to tighten ring
Round 1 Ch 2, 2 dc in each st around (20dc)
Round 2 Ch 2, *dc in next dc, dcinc in next dc* repeat in each st around (30 dc)
Round 3 Ch 2, *dc in next 2 dc, dcinc in next dc* repeat in each st around (40 dc)
Round 4 Ch 2, *dc in next 9 dc, dcinc in next dc* repeat twice more, dc in next 8 dc, dcinc in next 2 dc (45 dc)
*See Below
Baby 6-12 months
Finished measurement 17”
In an adjustable ring, ch 2, 10dc and pull to tighten ring
Round 1 Ch 2, 2 dc in each st around (20dc)
Round 2 Ch 2, *dc in next dc, dcinc in next dc* repeat in each st around (30 dc)
Round 3 Ch 2, *dc in next 2 dc, dcinc in next dc* repeat in each st around (40 dc)
Round 4 Ch 2, *dc in next 3 dc, dcinc in next dc* repeat in each st around (50 dc)
*See Below
Toddler
Finished measurement 19”
In an adjustable ring, ch 2, 10dc and pull to tighten ring
Round 1 Ch 2, 2 dc in each st around (20dc)
Round 2 Ch 2, *dc in next dc, dcinc in next dc* repeat in each st around (30 dc)
Round 3 Ch 2, *dc in next 2 dc, dcinc in next dc* repeat in each st around (40 dc)
Round 4 Ch 2, *dc in next 3 dc, dcinc in next dc* repeat in each st around (50 dc)
Round 5 Ch 2, *dc in next 9 dc, dcinc in next dc* repeat four more times (55 dc)
*See Below
Child
Finished measurement 21”
In an adjustable ring, ch 2, 10dc and pull to tighten ring
Round 1 Ch 2, 2 dc in each st around (20dc)
Round 2 Ch 2, *dc in next dc, dcinc in next dc* repeat in each st around (30 dc)
Round 3 Ch 2, *dc in next 2 dc, dcinc in next dc* repeat in each st around (40 dc)
Round 4 Ch 2, *dc in next 3 dc, dcinc in next dc* repeat in each st around (50 dc)
Round 5 Ch 2, *dc in next 4 dc, dcinc in next dc* repeat in each st around (60 dc)
*Continue alternating color rows until desired length keep in mind that you are going to add a brim and that will probably measure 1.5 to 2 inches
For Brim
Alternate 3 front post double crochet (fpdc) and 2 back post double crochet (bpdc). For maybe 3 or 4 rows depending on size and desired look. * If you only did 9dc at the beginning, then maybe work a 3fpdc, 3bpdc.
Heart pattern:
lovestitchlove.blogspot.com/2013/01/the-perfect-heart-applique.html
Please feel free to sell any items you make from my patterns but please do not reproduce my pattern as your own. You do not have to credit me when listing items for sale but if you love it please feel free to tell everyone where they can get one!